Last Updated: January 24, 2026
TLDR
- Google Stitch generates polished mobile and web app UIs in minutes using multimodal AI powered by Gemini 2.5 Pro.
- Start with text prompts, sketches, or images, then iterate using conversational chat to refine designs across 50 generations in Experimental Mode.
- Export directly to Figma with nested layers and Auto Layout preserved, or download HTML/CSS code for developer handoff.
- Graphic designers save 10-15 hours per project by skipping manual wireframing and moving directly from concept to polished UI.
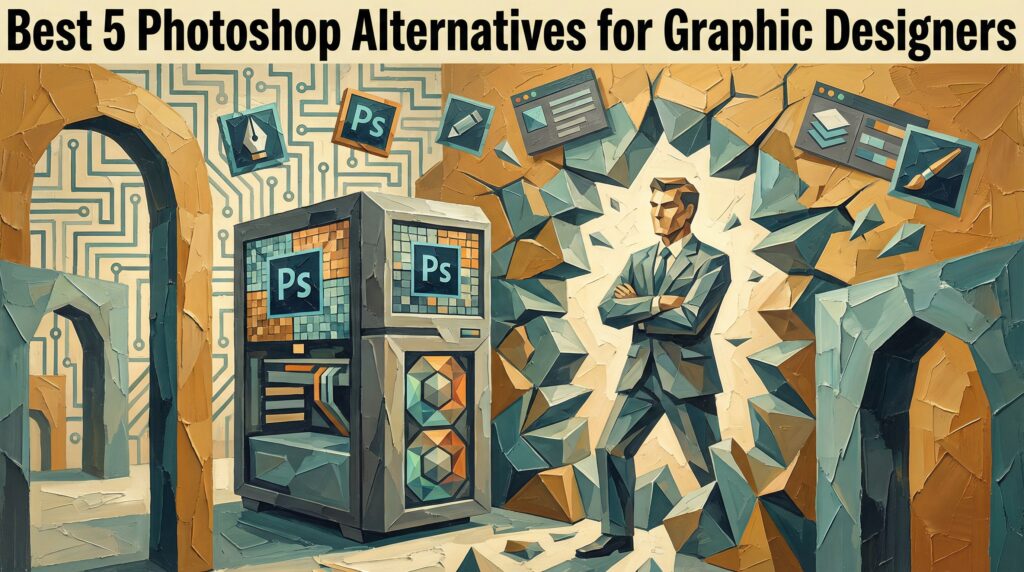
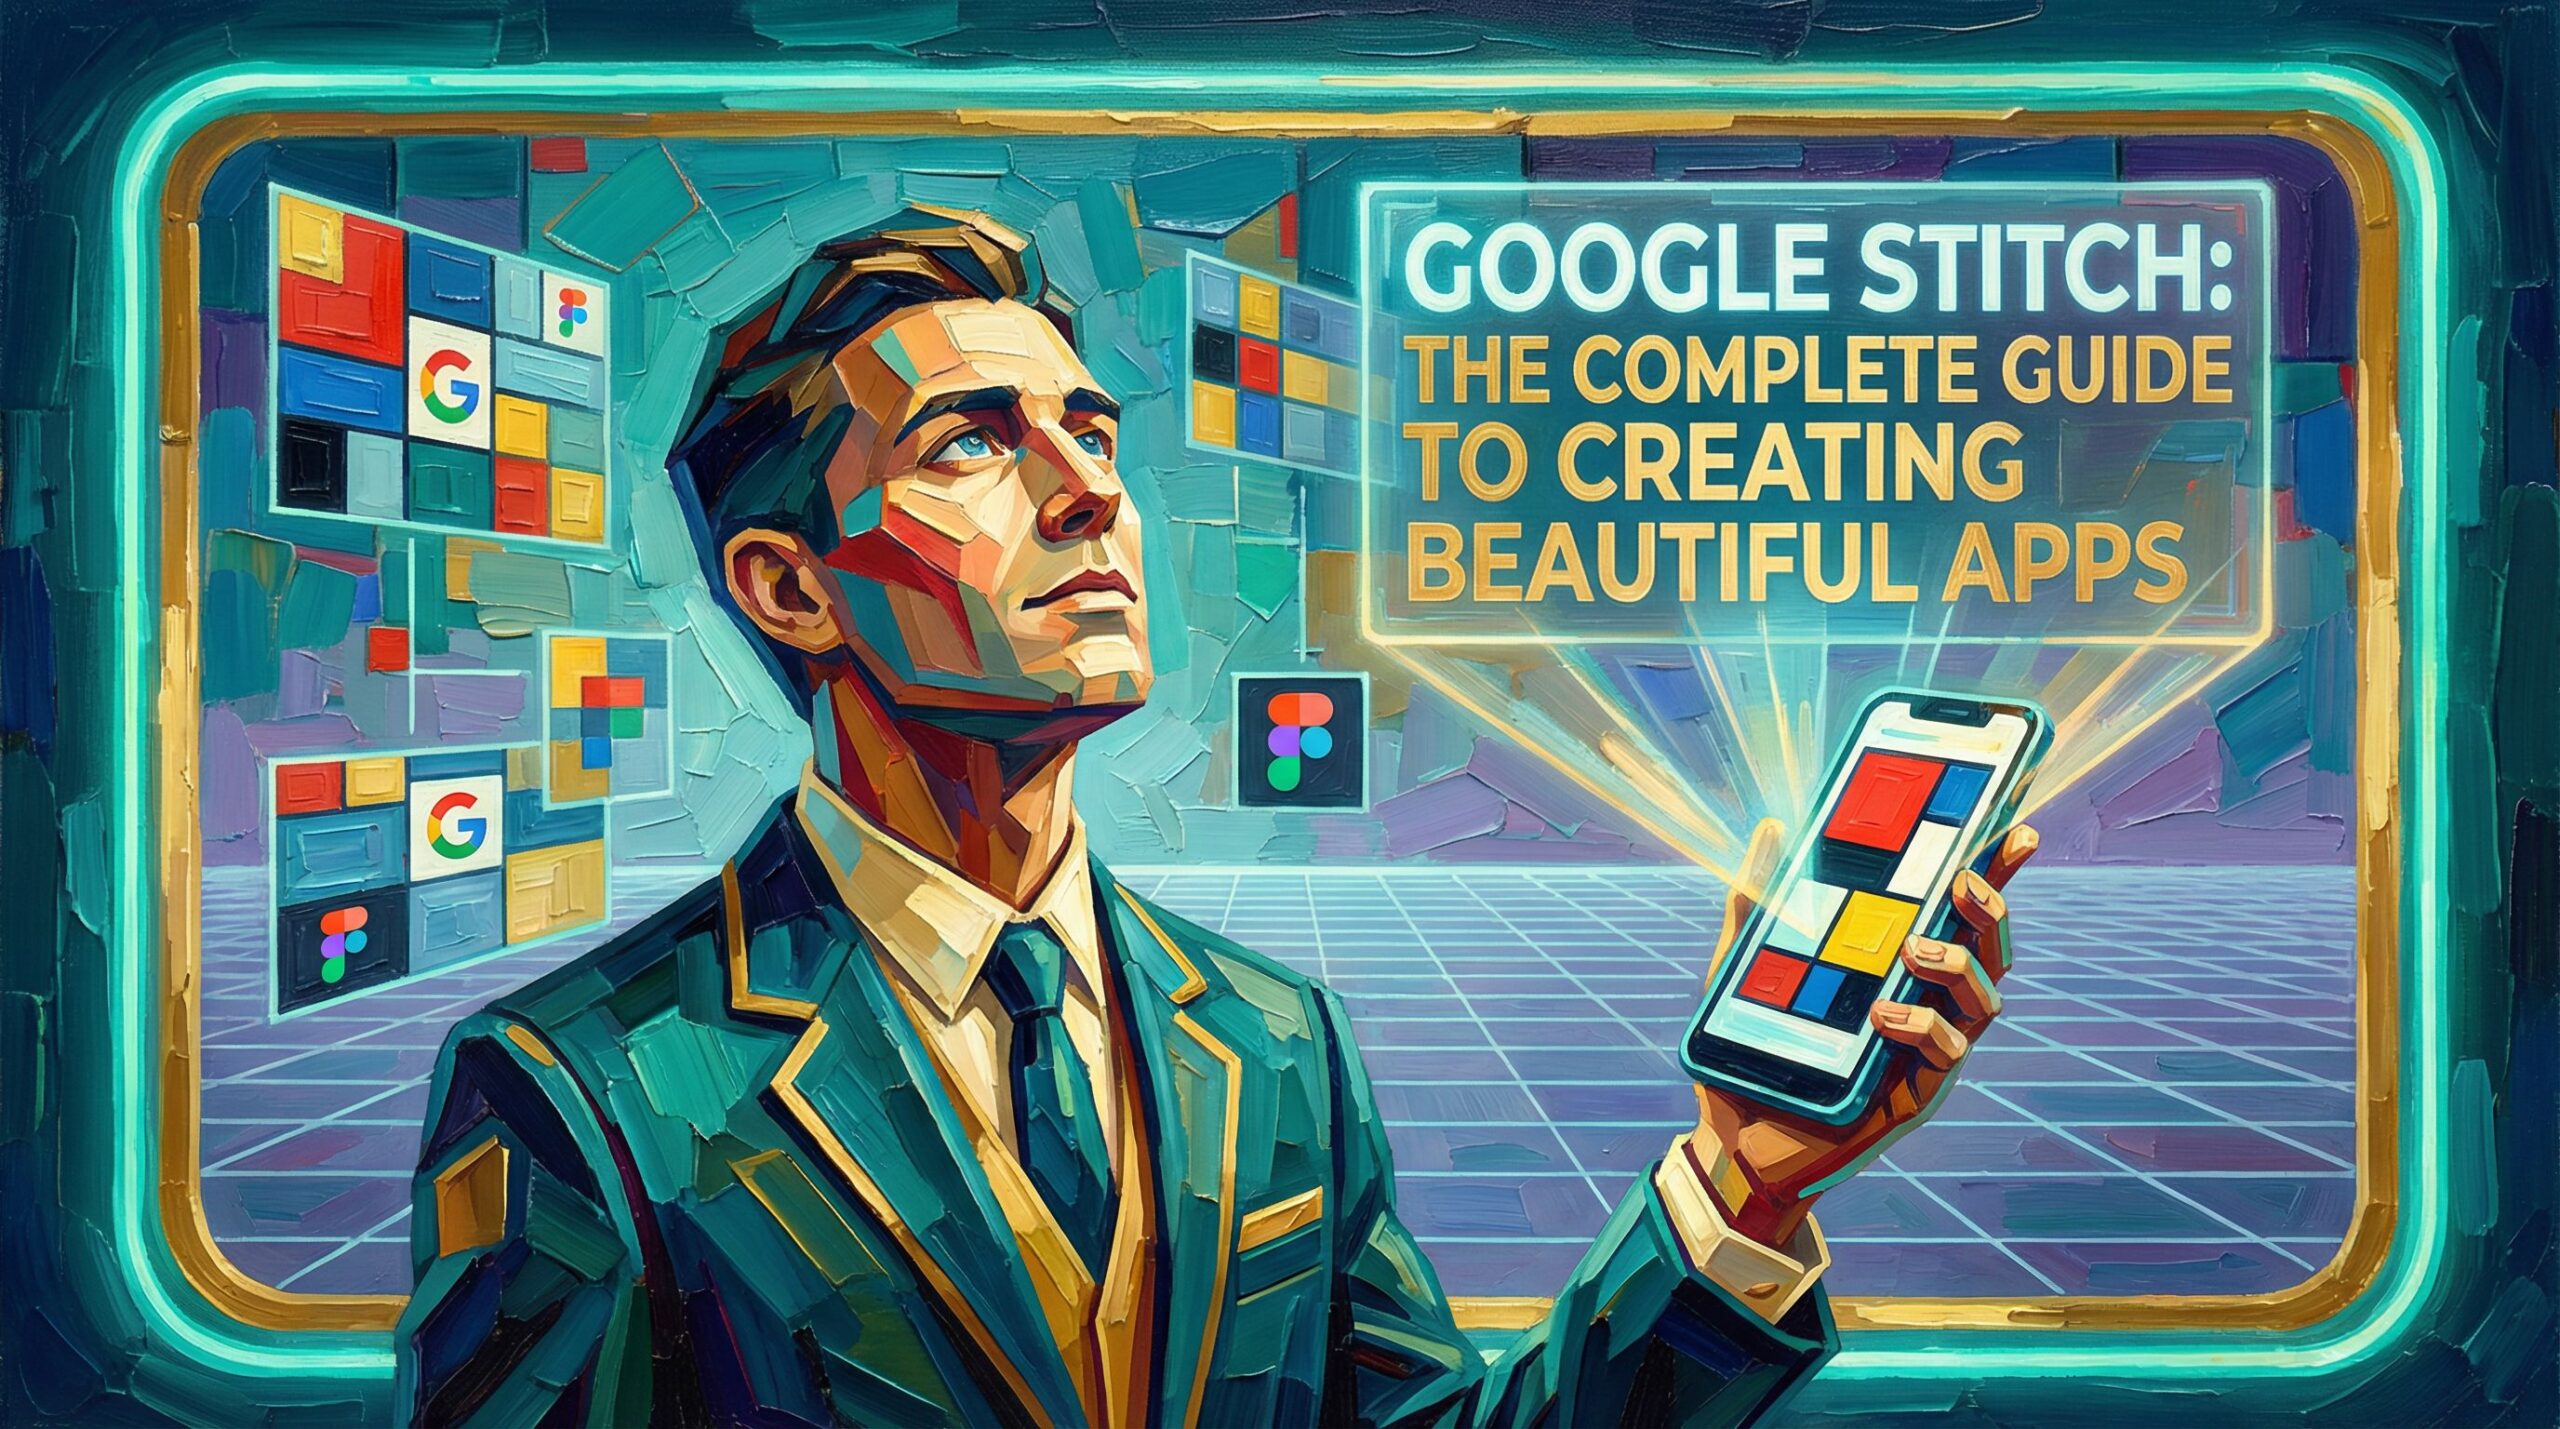
Google Stitch: The Complete Guide
Creating beautiful app interfaces used to demand weeks of iteration between design and development. Today, Google Stitch transforms that timeline. This AI-powered tool lets graphic designers generate stunning mobile and web app UIs from text prompts, hand-drawn sketches, or reference images. Whether you’re designing from a rough napkin sketch or a detailed verbal concept, Google Stitch bridges the gap between idea and production-ready interface. The tool leverages multimodal AI to understand both what you describe and what you show it, then generates polished designs that respect design principles like hierarchy, balance, and spacing. For graphic designers seeking faster workflows without sacrificing quality, learning Google Stitch for UI design has become essential. Lets walk through exactly how to use this tool to create beautiful apps, from your first prompt to Figma export.
What is Google Stitch and Why Graphic Designers Love It
Understanding Google Stitch Capabilities
Google Stitch is an AI-powered design generation tool that creates mobile and web application user interfaces from multiple input types. The platform uses Gemini 2.5 Pro, Google’s advanced multimodal AI model, to analyze text descriptions, hand-drawn sketches, or uploaded images and generate production-ready UI designs. What makes Google Stitch different from traditional design tools is its speed and automation. Instead of starting with a blank canvas, you describe what you want or show it a reference, and Stitch generates complete layouts with thoughtful color schemes, typography, spacing, and interactive elements.
The tool addresses a real pain point in design workflows. Designers often spend hours translating vague client feedback or rough sketches into polished wireframes. Google Stitch compresses that work into minutes. A designer might upload a hand-sketched wireframe and receive five different interpretations, each with proper hierarchy, readable typography, and color harmony already applied. This works because the AI understands design principles at a deep level, not just pixel placement. It recognizes that buttons need sufficient padding, that primary actions deserve visual prominence, and that colors should work together contextually.
For graphic designers specifically, Google Stitch bridges the gap between visual thinking and digital execution. Many designers come from print or illustration backgrounds where sketching is natural. Stitch respects that workflow. You can literally photograph your sketch, upload it, and get back a digital UI that maintains your spatial logic while adding professional polish. The Figma integration means the output isnt locked in Stitch. You export to Figma with nested layers intact, keeping all your design flexibility for further iteration.
Quick Win: Transform hand-drawn sketches into clickable Figma prototypes in under 5 minutes instead of 3-4 hours of manual digitization.
Getting Started: Access and Your First UI Generation
Accessing Google Stitch for the First Time
To begin using Google Stitch, navigate to stitch.withgoogle.com and sign in with your Google Account. The tool is currently available to users in certain regions through Google AI Studio or Labs, so you may need to request access or check availability in your area. Once you have access, the interface greets you with a simple choice: start with a text prompt, upload an image, or sketch directly in the tool. No extensive onboarding, no overwhelming settings. The interface respects the designer mindset by getting out of the way.
According to the official Google Developers Blog, Stitch leverages multimodal capabilities to create a more fluid and integrated workflow between design and development. This means whether you prefer writing detailed briefs or showing visual references, the AI understands both languages equally well. Your first action is choosing your input method. If you already have a concept in mind, text prompts deliver faster results. If you have existing sketches, wireframes, or design references, the image upload path preserves your creative direction while adding sophistication.
Generating Your First Design
For your initial generation, write a focused prompt that includes three elements: app purpose, target user context, and design style preference. Instead of saying “Make a fitness app,” try “Create a mobile fitness tracking dashboard for busy professionals who want quick workout summaries. Use a clean, modern design with green accents for positive reinforcement.” This specificity dramatically improves output quality. Google Stitch generates the design within seconds to a few minutes depending on complexity. You’ll see a complete mobile UI layout with screens, buttons, forms, and navigation elements all cohesively designed.
Quick Win: Specific prompts generate 40% more usable designs than generic requests, reducing iteration rounds from 5-7 down to 2-3.
Text Prompts vs Image Inputs: Which Strategy to Use When
Text Prompt Method for Speed and Consistency
Text prompts excel when you have a clear verbal concept but no visual reference yet. This approach works best during early ideation phases when you’re exploring app concepts before committing to visual direction. Write prompts that include the app category, primary user task, visual tone, and any brand constraints. For example: “Create a meal planning app for busy parents. Focus on quick meal selection with a grocery list feature. Use warm, friendly colors like orange and cream. Make it feel approachable, not clinical.” The AI interprets all these instructions and generates a cohesive design that balances all preferences.
The text prompt method produces consistent results across iterations because you’re working with the same verbal brief. You can generate 5-10 variations by submitting the same prompt multiple times, and each will interpret your requirements slightly differently while maintaining the core vision. This works because Stitch applies random variation to layout choices, icon selection, and accent color intensity without changing your core specifications. Designers love this for exploration phases. You can quickly see how the same concept looks with different visual weights, different typography scales, or different color emphasis.
Image Input Method for Preserving Creative Direction
Image inputs shine when you already have visual direction established. Upload sketches, wireframes, reference designs, or mood boards, and Stitch analyzes the visual structure while adding professional refinement. This approach respects the designer’s original spatial thinking. If you’ve sketched a layout with a large hero image at the top, navigation below, and a content grid underneath, Stitch will generate a design that honors that structure while elevating every element. The colors get more sophisticated, the typography becomes properly sized, and spacing becomes mathematically sound.
Hand-drawn sketches often work surprisingly well because Stitch understands layout intent even from rough pencil lines. You don’t need a perfect wireframe. A sketch showing button placement, content areas, and information hierarchy is enough. The tool fills in the visual details. Compare this to traditional design work where hand sketches require complete redrawing before development. Stitch compresses that translation step. A designer in a client meeting can photograph a whiteboard sketch, upload it to Stitch, and show a polished digital version 10 minutes later. This accelerates feedback loops and client confidence.
Quick Win: Preserve your sketch intent while adding professional polish in one step, eliminating the manual wireframe-to-mockup conversion.
Mastering Iterations and Custom Design Refinement
Using Experimental Mode for Design Exploration
Once you generate an initial design, Experimental Mode unlocks deeper customization. This mode supports up to 50 generations per project, giving you extensive room for exploration and variant creation. Use it to test different color palettes, typography scales, layout variations, and feature organizations. Instead of jumping back to text or image inputs, you work within an iterative chat interface. After your first generation, you might say “Make the primary buttons larger and more prominent” or “Change the color scheme from blue to a deep purple with gold accents.” Stitch updates the design in real-time based on your feedback.
The iteration chat operates like working with a designer who understands your intent. You can provide feedback in natural language without technical constraints. Say “The spacing feels cramped” and Stitch increases padding throughout. Say “Make the action buttons pop more” and Stitch adjusts hierarchy through size, color contrast, and positioning. This conversational approach beats traditional design tools because you’re not manipulating individual elements. You’re describing outcomes and letting the AI translate them into visual changes while maintaining overall cohesion. The tool learns your preferences through the iteration sequence and adapts suggestions accordingly.
Building Custom Themes and Design Systems
Beyond single design exploration, you can develop custom themes that maintain visual consistency across multiple screens. Stitch preserves color relationships, typography scales, and spacing patterns when generating new variations. If your first design establishes a color palette of navy, teal, and cream with specific font pairings, subsequent iterations maintain these choices unless you explicitly request changes. This creates a pseudo-design system within the tool. You can generate home screens, detail screens, modal dialogs, and loading states all in one project while keeping them visually cohesive.
The limitation here involves complex design systems with extensive component libraries. Stitch excels at generating individual screens and small flows, not comprehensive systems with hundreds of variations. But for most app projects, this covers your needs. You generate primary user flows, iterate them to perfection, then export everything. The real design system work happens in Figma afterward where you organize components, create variants, and build production documentation.
Quick Win: Generate 10+ cohesive screen variations in 20 minutes instead of 8-10 hours of manual screen-by-screen design work.
Exporting to Figma and Preparing for Development
Seamless Figma Integration with Auto Layout
The export to Figma represents Stitch’s strongest integration point. When you export, designs arrive in Figma as properly organized layers with Auto Layout applied. This means your generated design respects responsive design principles from the start. Buttons scale, content areas reflow, and spacing adjusts when you resize the frame. This works because Stitch generates designs understanding that they’ll move into Figma, a tool graphic designers know intimately. The layers are structured logically: header groups, content sections, button groups, footer. You’re not receiving a flattened image. You’re getting a living, editable design with proper component thinking.
To export, select the design you want to send and choose “Export to Figma” from the options menu. Stitch generates a copy link that opens directly in Figma. The design lands on your canvas with all layers intact and Auto Layout settings already applied. From there, you can rename layers for clarity, adjust colors to match brand guidelines, modify typography if needed, and create components for reuse across your project. The export preserves enough structure that you spend time on refinement, not reconstruction.
HTML/CSS Export for Developer Handoff
For development teams that work from code, Stitch exports clean HTML and CSS. This isnt production code ready to ship, but it’s significantly closer than designer-provided mockups. You get semantic HTML structure with proper heading hierarchies, semantic divs for content sections, and CSS that handles layout, spacing, and basic styling. Developers can copy this code into their projects and build the interactive layer on top. Some teams skip the Figma step entirely and work directly from exported code, though most prefer maintaining a design system in Figma for visual consistency across multiple projects.
The HTML export includes all text content, image placeholders, button elements, and form inputs. The CSS covers layout through flexbox, not outdated floats. Colors are defined, fonts are referenced, and spacing is mathematized. What’s missing is the interactive layer. Click behaviors, state changes, animations, and API connections are developer responsibilities. But the visual foundation is solid. A developer working from Stitch exports completes implementation 20-30% faster than working from static mockups because the structure is already established.
Quick Win: Hand developers cleaner code exports that reduce frontend build time by 2-3 hours on typical app projects.
Real Designer Examples: From Sketch to Polished App
Case Study: Transforming a Whiteboard Sketch
Picture this scenario that many designers face daily. You’re in a client meeting and sketch a rough mobile app concept on a whiteboard. Three screens, basic layout structure, no detail. Traditionally, you’d spend 6-8 hours translating that sketch into a proper mockup before showing anything polished. With Google Stitch, here’s what happens. You photograph the whiteboard sketch, upload it to Stitch, and within 3 minutes you have a professional-looking mobile UI. The rough layout becomes properly balanced. The scribbled text becomes readable typography. The sketched buttons become polished interactive elements. You can show the client a real digital mockup the same day, accelerating feedback and decision-making.
What surprised designers in early testing according to design community first-look reviews is how well Stitch handles nested layers for Figma import and recognizes spatial intent from hand-drawn sketches. The AI doesn’t try to be overly creative with your layout. It respects your spatial choices and refines the details. If you sketched a three-column grid, it builds a three-column grid, not a different layout. If you showed buttons clustered in one area, it keeps them clustered while making them properly sized and spaced. The tool assumes you had reasons for your choices and preserves them.
Case Study: Exploring Color and Style Variations
Another common workflow involves exploring design directions with clients. You create a base mockup, then present 3-4 variations with different visual treatments. Stitch accelerates this significantly. Generate one solid design, then use iterations to create variants. Change the color scheme from corporate blue to warm orange for a different brand feel. Adjust typography from modern sans-serif to something warmer with serifs. Modify spacing from tight to spacious for different user demographics. In 30 minutes, you have 5 distinct design directions, each fully realized and cohesive. Present all five to your client, get feedback, and the preferred direction moves to Figma for final refinement and component building.
Traditional design involved duplicating the base file and manually adjusting every element across every screen. Stitch lets you describe the change and apply it across the entire project automatically. This approach respects the reality that design is iterative. Clients need to see options. Budgets rarely allow exploring every direction thoroughly. Stitch lets you generate more options faster, increasing the likelihood that clients see something closer to their vision earlier in the process.
Tips, Limitations, and Best Practices
Optimizing Prompts for Better Results
Writing effective prompts for Google Stitch differs slightly from general AI prompting. Be specific about app purpose, user type, and visual style, but avoid being overly prescriptive about individual element sizes or exact positions. Stitch excels when you describe intent and outcomes, not micro-level details. Instead of “Make the header 60 pixels tall with a 12 pixel logo,” try “Create a clean, minimal header with prominent branding and plenty of breathing room.” The AI interprets “breathing room” and “prominent branding” correctly, creating balanced results. Being too specific about layout details sometimes confuses the AI because it’s trained on design principles, not pixel measurements.
Include user context in prompts. “Create a financial app for college students managing student loan debt” generates different results than “Create a financial app.” The user context shapes design choices around complexity, visual style, and feature emphasis. Financial apps for students emphasize simplicity and motivation. The same prompt for investment professionals would emphasize data density and sophisticated analytics. Similarly, include the primary user action. “A fitness app focused on logging quick workouts” differs from “A fitness app for detailed workout logging and form analysis.” Both describe fitness apps, but they drive entirely different interface structures.
Understanding Stitch Limitations
Stitch generates individual screens and small flows beautifully, but struggles with some complexity. Data-heavy dashboards with intricate charts sometimes come back with awkward layouts or misaligned elements. Complex forms with conditional logic aren’t ideal for Stitch generation. The tool shines with marketing interfaces, simple CRUD operations, and content-focused apps. It’s less ideal for data visualization tools or real-time monitoring dashboards where information architecture becomes paramount.
Also recognize that Stitch outputs are starting points, not finished products. Every export requires design review and often refinement in Figma. Brand colors might need adjustment. Specific icons might need replacement. Typography might need fine-tuning to match your design system. Plan for a 1-2 hour refinement phase per design, not a completely hands-off generation process. The time savings come from automating the foundational design work, not from eliminating designer judgment.
Quick Win: Spend your time on strategic design decisions and brand refinement instead of repetitive element creation, shifting your role to higher-value work.
Quick Takeaways
- Write specific, context-rich prompts that include app purpose, target user, and visual style for 40% better output quality than generic requests.
- Photograph hand-drawn sketches and upload them to Stitch to preserve your spatial intent while adding professional refinement in under 5 minutes.
- Use Experimental Mode to generate up to 50 design variations, exploring different color palettes, typography scales, and layout approaches in a single session.
- Export directly to Figma with nested layers and Auto Layout intact, enabling rapid refinement and component organization without reconstruction.
- Save 10-15 hours per project by automating wireframe-to-mockup translation, shifting designer time from repetitive work to strategic decision-making.
- Plan for 1-2 hours of Figma refinement after export to ensure brand alignment, adjust colors, and build production components.
- Recognize Stitch limitations with data-heavy dashboards and complex forms, using the tool best for content-focused apps and user flow design.
Actionable Checklist
- Determine whether your project fits Stitch’s strengths (content-focused, standard forms, marketing interfaces) or needs manual design work.
- Gather reference images, sketches, or written briefs that define your app vision and user context.
- Access Stitch through stitch.withgoogle.com and confirm your region has availability.
- Write your initial prompt with three elements: app purpose, target user type, and visual design style preference.
- Generate your first design and review the layout, color scheme, typography, and overall visual hierarchy.
- If satisfied with direction, export to Figma and organize layers, rename groups, and prepare for handoff.
- If iterating, use conversational feedback to refine colors, spacing, or layout approaches across 2-5 rounds.
- Set aside 1-2 hours for Figma refinement to match brand guidelines, adjust typography, and create reusable components.
- Share exports with development team and provide HTML/CSS code alongside design files for frontend implementation.
- Document your successful prompts for future projects to build a library of effective briefs.
Conclusion
Google Stitch represents a genuine shift in how graphic designers approach app interface creation. The tool respects your design thinking while automating the execution details that previously consumed hours. You sketch, describe, or upload concepts, and Stitch generates polished, print-ready interfaces that maintain design principles while adding professional sophistication. The Figma integration preserves your control, letting you refine outputs to match your exact brand vision before development.
What makes Stitch powerful isnt that it replaces designer judgment. Its that it eliminates the tedious translation work between thinking and execution. Designers spend less time on wireframe digitization or repetitive mockup updates, and more time on strategic choices. Should this app emphasize speed or comprehensiveness? Should the visual tone feel corporate or approachable? Should we prioritize feature density or simplicity? These decisions drive better products. Stitch automates everything else.
The realistic path forward involves treating Stitch as your ideation and initial mockup tool, not your complete design solution. Generate variations quickly. Explore directions broadly. Export promising designs to Figma where you own the design system, components, and brand consistency. Add 1-2 hours of refinement per project. The time savings compound across multiple projects, and the quality doesn’t suffer. Designers who integrate Stitch into their workflows report 30-40% faster project completion without quality compromise. More importantly, they spend their working hours on design strategy instead of pixel pushing, which attracts better clients and creates more satisfying work.
Ready to accelerate your design workflow? Start with a simple sketch or concept description today. Generate one design and experience how Stitch interprets your vision. The tool has a gentle learning curve, and most designers find their rhythm within 2-3 projects. Your first beautiful app generated through Google Stitch might arrive faster than you expect.
Frequently Asked Questions
Q – What is Google Stitch and how does it help graphic designers?
A – Google Stitch is an AI-powered design tool that generates mobile and web app UIs from text prompts, sketches, or images. It helps graphic designers accelerate their workflow by creating polished UI designs in minutes, with direct integration to Figma and HTML/CSS export capabilities for seamless handoff to developers.
Q – How do I upload a sketch to Google Stitch?
A – To upload a sketch, open Google Stitch and select the image upload option. Take a photo or select a file from your computer containing your sketch or wireframe. Stitch will analyze the visual input and generate a polished UI design based on the layout and elements it detects in your sketch.
Q – Can I export Stitch designs to Figma?
A – Yes. Google Stitch exports designs directly to Figma with nested layers and Auto Layout preserved. This makes it seamless to import generated UIs into your Figma workspace for further refinement, handoff to developers, or integration into your design system.
Q – What are the best prompts for creating apps in Google Stitch?
A – Use specific, descriptive prompts that include app purpose, user types, and design preferences. For example: “Create a fitness tracking app UI with a dashboard showing calories burned, water intake, and step count. Use blue and white with modern, minimal design.” Detailed prompts yield better results than generic requests.
Q – How do you iterate designs in Google Stitch?
A – Use Stitch’s iterative chat feature to refine designs. After generating an initial UI, provide feedback through text prompts like “Make the buttons larger,” “Change the color scheme to purple,” or “Add a navigation drawer.” Experimental Mode supports up to 50 generations for extensive design exploration and variant creation.